A little Halloween spirit can start with a witch sticker featuring your name. For a community trunk-or-treat, it might mean turning your open trunk into a monster mouth, a pumpkin patch, or a miniature haunted house.
The best Halloween car decorations fit the way you plan to celebrate. Choose vehicle-compatible stickers for a small seasonal touch, or build a removable scene for a parked car. These 15 ideas combine personalized details, simple crafts, and complete trunk-or-treat themes, with practical tips for putting everything together.
Start with your setting: will the decoration stay on the car between outings, or come out only after you park? That choice helps you pick the right materials and avoid buying props that do not suit your plans.
Choose Your Halloween Car Decorating Style
Your plan
A good place to start
What to check
A small seasonal update
Personalized witch or skeleton photo sticker
Approved surface, application instructions, and placement
An easy DIY project
Paper bats, a spider board, or a pumpkin display
Build on a separate base and set out while parked
A family trunk-or-treat
Monster mouth, pumpkin patch, or ghost house
Trunk opening, candy access, and available setup space
A personalized candy station
Family-name banner and named candy bucket
Banner dimensions, display support, and order timing
Keep windows needed for visibility, mirrors, lights, license plates, cameras, sensors, controls, and airbag areas clear. The large props, fabric backdrops, and lights below are intended for parked displays. Pack them away before driving.
Personalized Halloween Car Stickers
1. Turn Your Family Photos into a Skeleton Crew
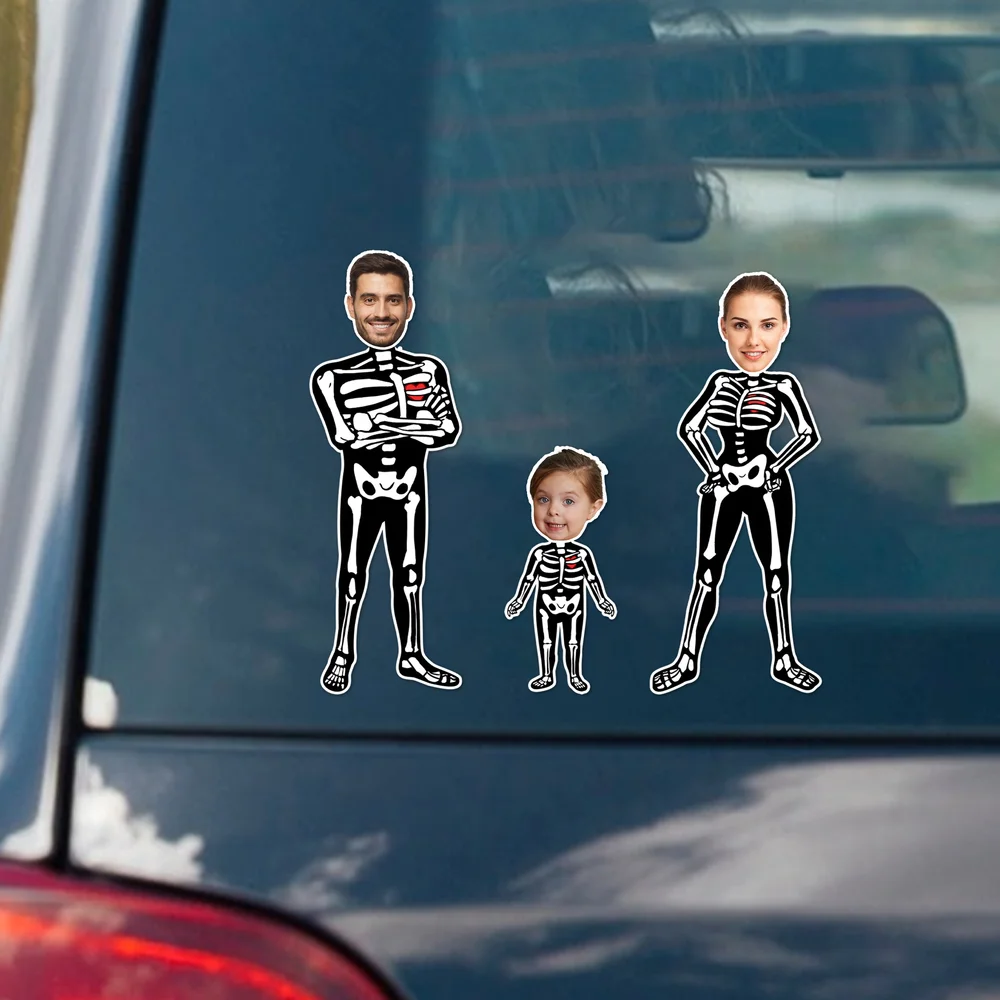
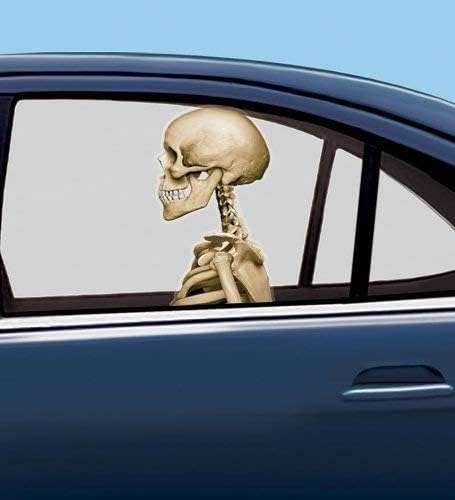
Callie’s personalized skeleton photo sticker combines skeleton illustrations with one to seven portraits of people or pets. It is a playful choice for families who want their Halloween car decor to feature familiar faces.
Choose clear portraits and review the preview so each face remains recognizable. A small group can work well on its own, without extra decals surrounding it. The product is described as a waterproof UV transfer sticker; use its application instructions to prepare the intended surface.
Photo personalization is the feature to build around. If you want an additional family slogan, make it a separate sign for your parked display rather than assuming the sticker includes a custom text field.
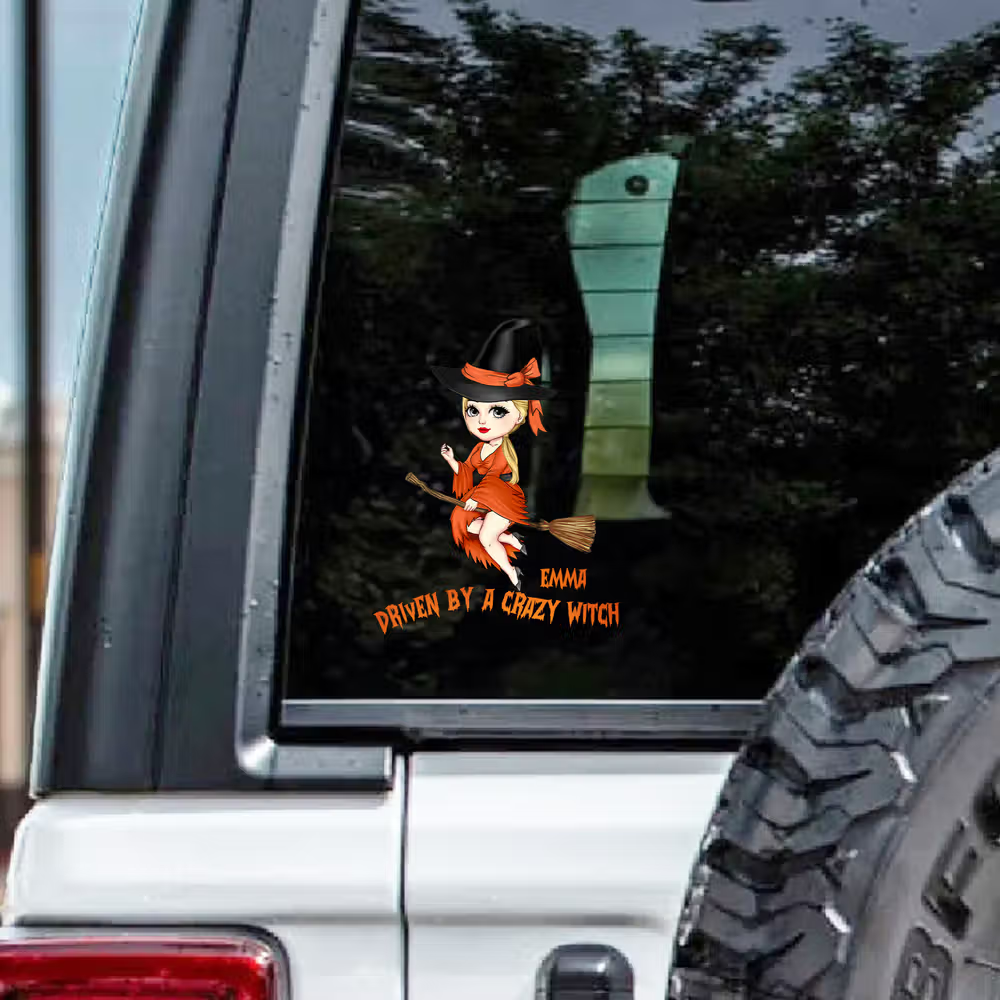
A personalized witch character sticker brings a cute Halloween theme to your car. Callie’s design features a witch, a broom, and a personalized name, making it a natural pick for someone who prefers magical details to gory props.
Let the character be the main decoration, then repeat its colors in a separate trunk display if you are attending an event.
You need: Black cardstock, scissors, a pencil, and a freestanding display board.
Draw one bat silhouette and use it as a template for several sizes. Fold each bat lightly down the middle to lift its wings, then attach the bats to the board in a rising curve. Leave space between them so the shapes are easy to recognize.
Set the board inside the cargo area with its base supported. A purple or orange backing adds contrast.
4. Build a Spider-and-Web Backdrop
You need: A dark display board, white yarn, scissors, and lightweight craft spiders.
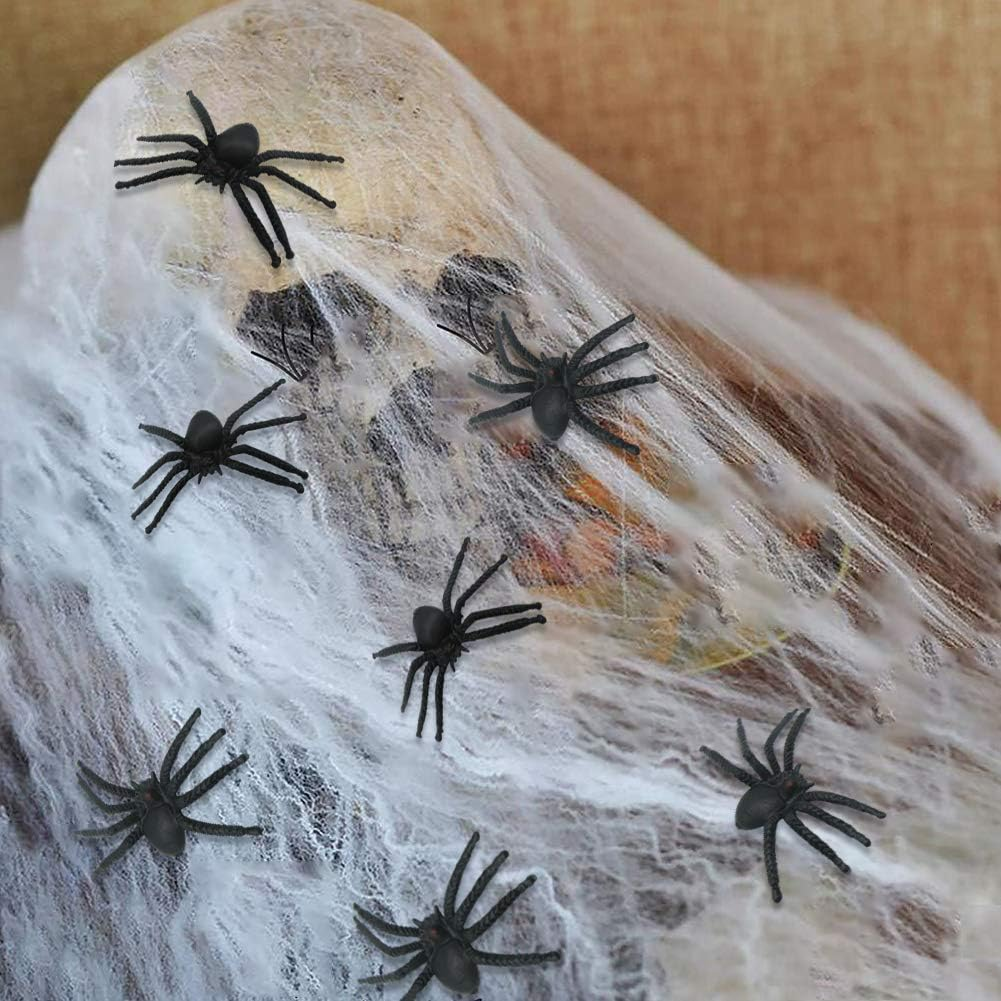
Stretch several yarn spokes across the board, securing the ends behind it. Add a loose spiral of yarn between the spokes to create the web. Place one larger spider near the center and a few smaller ones near the edges.
Keep the yarn contained within the board, away from the candy-serving area. This gives you the spider-web effect without draping loose strands over vehicle parts.
5. Create a Mini Pumpkin Patch
You need: A shallow tray, small artificial pumpkins, orange paper, and a cardboard sign.
Arrange the pumpkins at two or three heights using supports hidden inside the tray. Fill the gaps with crumpled orange paper, then add a simple handmade “Pumpkin Patch” sign. Choose smiling faces for a child-friendly look.
Place the tray on a level cargo surface while parked. Keep the display separate from the candy bowl so visitors do not need to reach between props. You can expand this small arrangement into the full pumpkin-patch theme below.
6. Set Up a Skeleton Passenger Photo Scene
You need: A lightweight skeleton prop, a costume hat or scarf, and a small sign.
Once parked, pose the skeleton in a passenger seat and dress it for the occasion. A witch hat creates a magical theme, while a bow tie and a handmade “Your Halloween Chauffeur” sign make the scene more humorous.
Use the prop’s intended support or a suitable separate stand. Avoid gluing it to upholstery. Treat this as a stationary photo display and stow the skeleton and accessories before driving.
7. Make a Witch-Legs Display
You need: Striped tights, soft stuffing, lightweight costume shoes, and a decorated box.
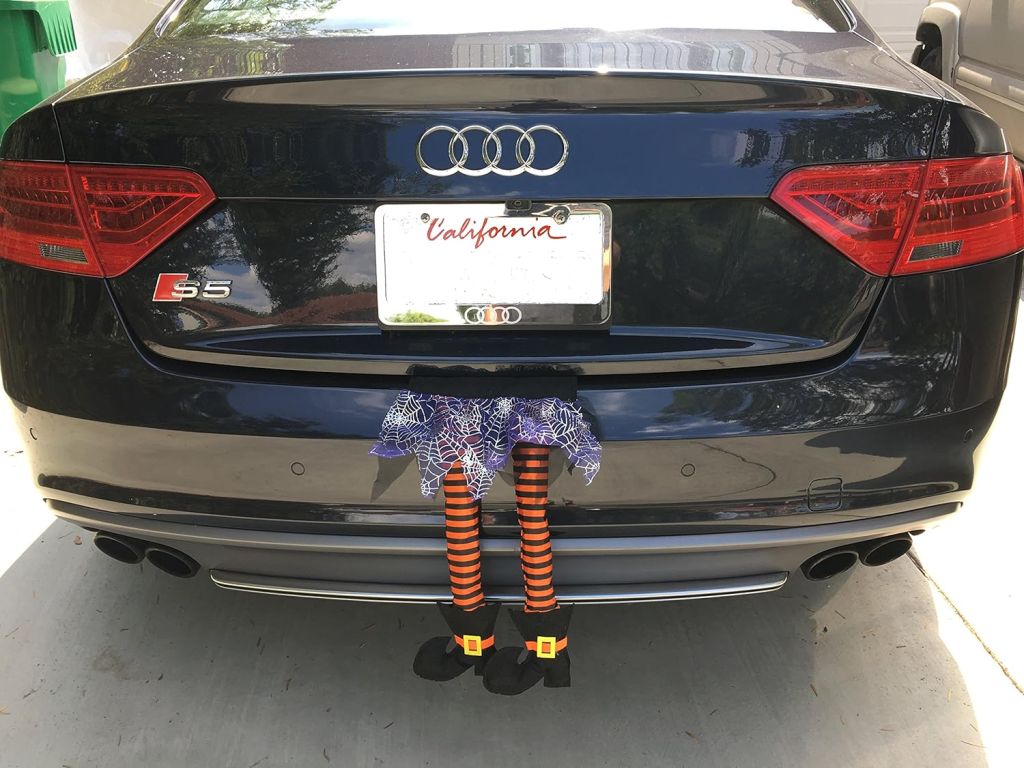
Fill the tights with enough stuffing to hold their shape, add the shoes, and position the legs so they appear to stick out of the box. Decorate the box as a spell trunk or a cauldron delivery crate.
Place the completed prop in the open cargo area when parked. Making the illusion inside a box avoids the need to trap fabric in the trunk latch or attach costume pieces to the vehicle exterior. Add a small handmade sign to complete the joke.
8. Give Your Backdrop a Soft Halloween Glow
You need: Battery-powered decorative lights and a separate display frame or board.
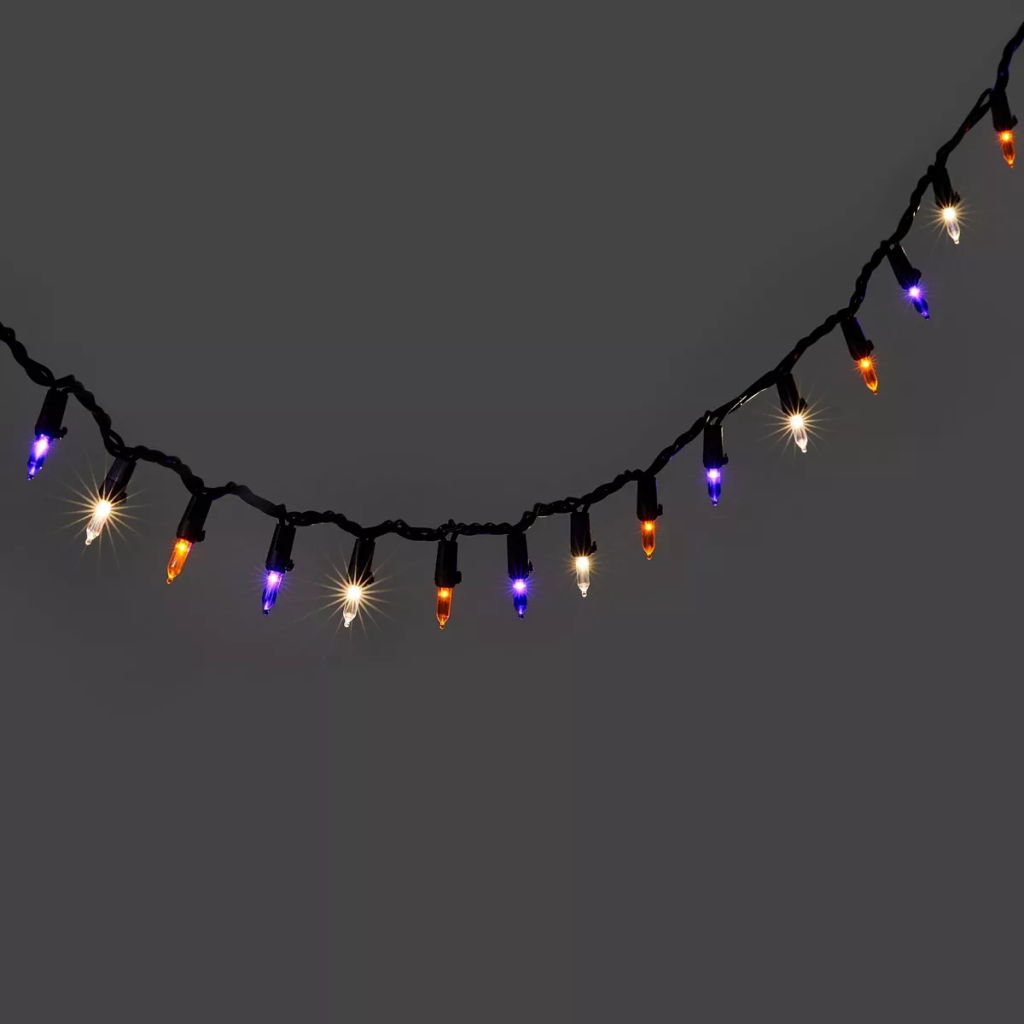
Arrange the lights around the edge of your backdrop so they frame the design. Orange works well with pumpkins; purple complements witches and ghosts. Position the battery pack where you can reach its switch without dismantling the scene.
Halloween Trunk-or-Treat Decoration Ideas
For a trunk-or-treat, choose a theme with one large focal point, a clear candy-serving area, and a small number of supporting details. Measure the open trunk first. A sedan usually needs a compact arrangement, while an SUV may have room for a taller freestanding backdrop within the cargo area.
9. Turn Your Trunk into a Monster Mouth
You need: White cardstock or foam board, colored backing, large paper eyes, and a candy bowl.
Cut rounded teeth and attach them to a separate frame sized for your trunk opening. Add oversized eyes above the mouth and place the candy bowl in the center. Bright green, orange, or purple creates a friendly monster that younger children can enjoy.
Assemble the frame before the event and support it independently of the trunk’s moving parts. Keep the teeth clear of the candy bowl and leave enough space for an adult to hand out treats. Remove the frame before closing the trunk.
10. Create a Pumpkin-Patch Candy Stop
You need: Artificial pumpkins, an orange or checked backdrop, a pumpkin-patch sign, and a treat container.
Group the pumpkins toward the sides and leave the center open for serving. A few smiling faces and one large sign are enough to communicate the theme.
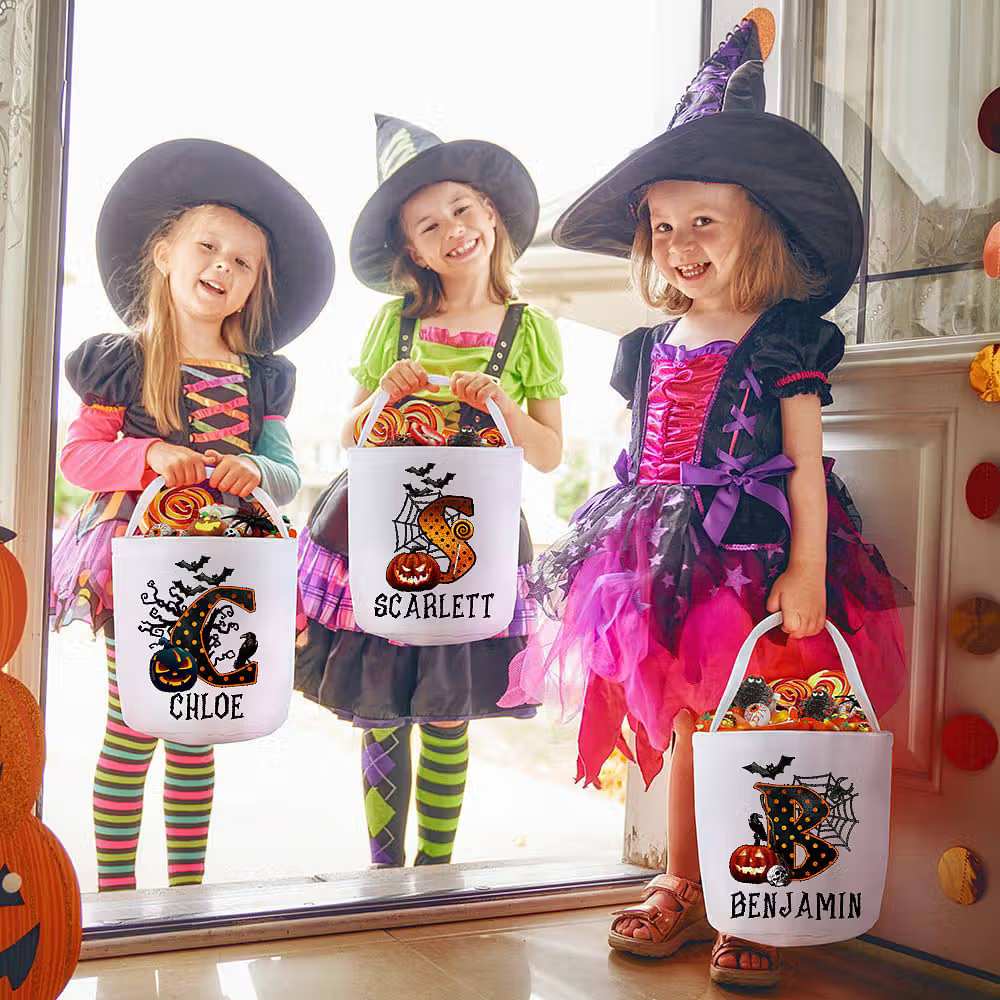
For a personalized finishing touch, Callie’s pumpkin, magic-hat, and ghost checkered candy bucket offers Halloween designs with a custom name. It can sit on the serving surface with wrapped treats or become your child’s collection bucket during the event.
Coordinate the backdrop with the bucket’s selected design, then use a separate container for refill supplies.
You need: A plastic cauldron, empty decorative containers, handmade potion labels, and a witch-themed backdrop.
Place wrapped candy in the cauldron and arrange the empty containers behind it. Labels such as “Bat Giggles” and “Pumpkin Sparkles” keep the display playful. Use lightweight containers, and keep anything decorative separate from treats.
Add a cardboard moon and a broom-shaped cutout to complete the scene. If you already chose the personalized witch sticker above, use the same colors for a coordinated look. Keep this setup dry and simple; it does not need liquid mixtures, smoke, or open flames to feel magical.
12. Make a Friendly Ghost House
You need: A cardboard house facade, white paper ghosts, black cardstock windows, and a candy bowl.
Cut a house outline with a wide central doorway. Place smiling ghosts in the windows and position the candy bowl just in front of the doorway. Soft curves and simple expressions make this a good alternative to a frightening haunted house.
Build the facade to fit your cargo space and support it on a stable base. Leave the serving area open and keep all cut edges finished. Reuse the paper-bat board from idea three behind the house if you want a little extra detail.
13. Welcome Visitors with a Family-Name Banner
You need: A personalized banner, an appropriately sized freestanding support, and a simple candy table or serving tray.
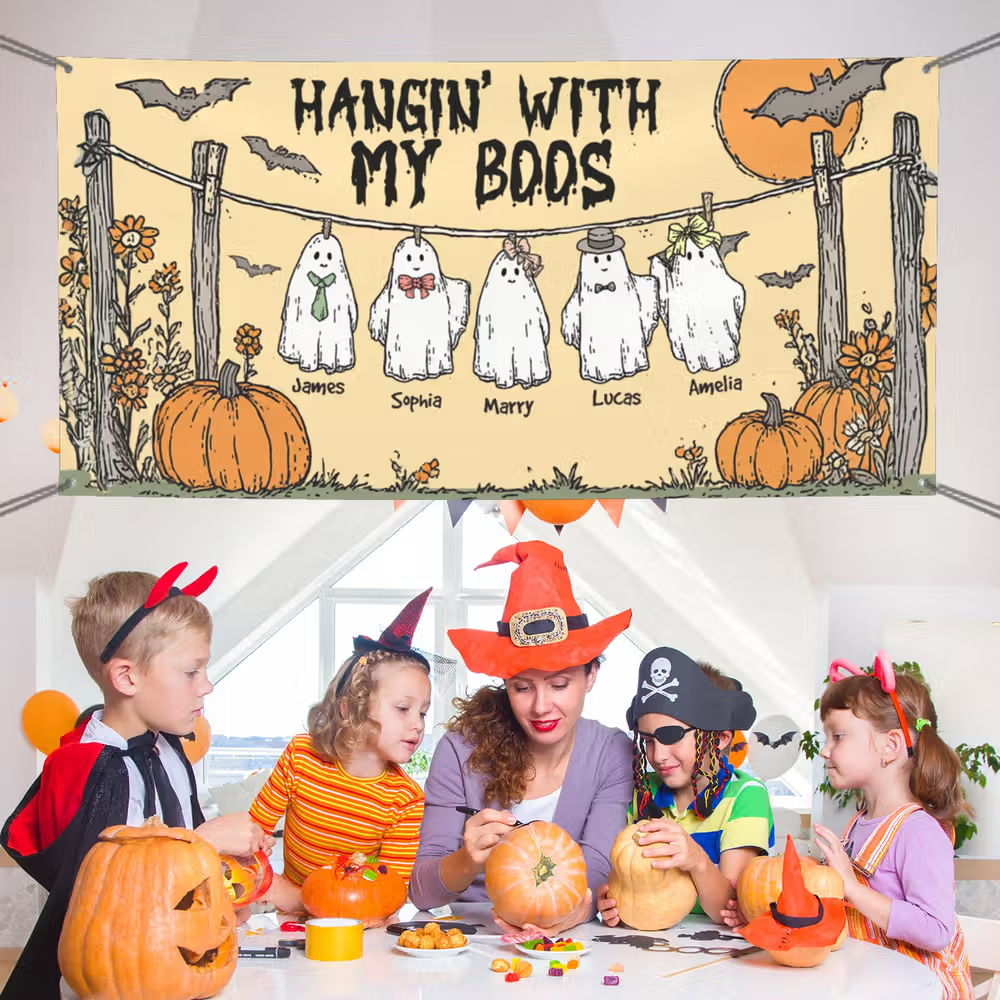
A family-name banner can become the focal point of a Halloween candy station. Callie’s bat, pumpkin, and ghost banner is listed with personalization for one to six names, making it an option for a family-themed display.
Check its current measurements and supplied hanging components before planning the layout. Display it on a suitable separate support behind or beside the parked vehicle, with the names visible above the serving area.
You need: Cardboard tombstones, a dark backing board, paper grass, and a shallow display base.
Cut tombstones in a few shapes and give them lighthearted names such as “Boo Crew” or “Here Lies the Last Candy.” Arrange them at staggered heights against the backing board. Paper grass adds texture without filling the car with loose soil.
Keep the cemetery scene behind the treats, with the serving container at the front. Make the tombstones wide enough to stand securely on their base. For a more dramatic look, add the steady battery lights from idea eight around the display frame.
15. Put Together a Halloween Coloring Stop
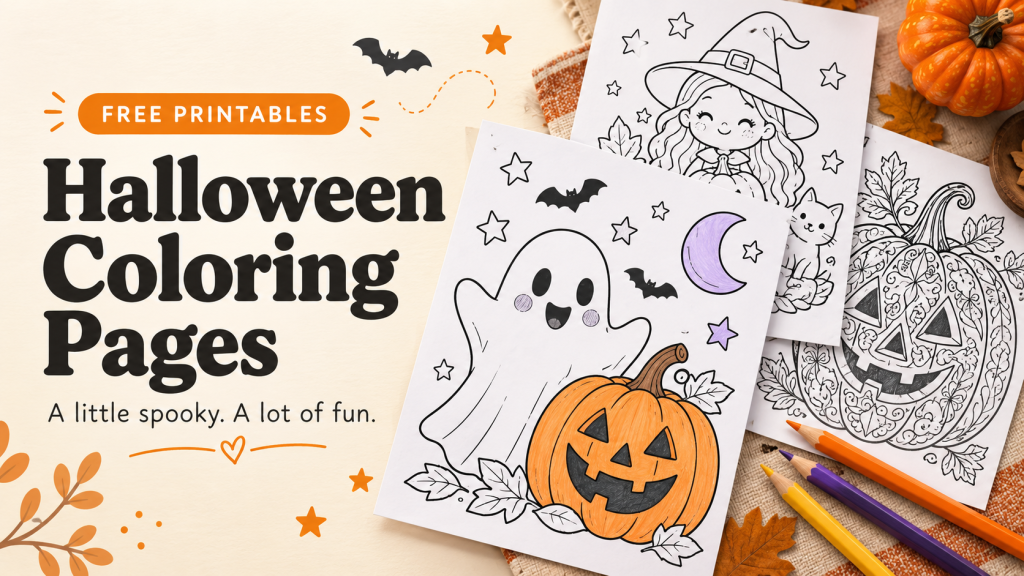
You need: Original Halloween line-art sheets, crayons, a small folding table, and a display board.
Create a quiet activity beside your parked car with simple pumpkin, ghost, or bat coloring sheets. Display a few finished examples on the board so families can see what the activity involves. Keep the table to the side of the candy queue to give children room to work.
Bring clips or folders to keep unused pages together and a container for crayons. Use artwork you created or have permission to print. At the end of the event, let children take their pictures home as an extra Halloween keepsake.
How to Attach and Remove Halloween Car Decorations
Start with the material, not just the design. A sticker, a static cling, and a magnet need different surfaces and handling.
Decoration type
Before installation
When the event is over
Adhesive or UV transfer sticker
Confirm surface compatibility and follow the product’s preparation and transfer steps
Follow its removal guidance; do not assume it is reusable or residue-free on every finish
Static window cling
Use only the smooth surface specified by its maker
Remove and store as instructed if the product is reusable
Vehicle-rated magnet
Confirm that the intended panel is compatible and follow the maker’s surface-care guidance
Remove, clean, and store according to the instructions
Paper, fabric, lights, and large props
Assemble on separate supports for a parked display
Remove and stow before moving the vehicle
For stickers, clean and dry the approved surface using the product’s recommended method. Check the position before applying pressure, and work out bubbles as directed. Do not substitute household glue, hot glue, or general-purpose tape for a specified installation method.
For DIY scenes, put glue, paint, and craft tape on your removable boards and props rather than directly on vehicle surfaces. Keep accessories away from latches, hinges, exhaust outlets, and moving parts.
When removing adhesive decorations, use the maker’s guidance for the particular product and surface. Avoid scraping with sharp tools or experimenting with strong solvents. If your car has a wrap, tint, repaired paint, or another special finish, check with its installer before applying or removing a decoration.
Halloween Car Decorations FAQs
What is an easy way to decorate a car for Halloween?
Start with one vehicle-compatible sticker or a small removable display for a parked event. Pick a theme such as witches, pumpkins, or ghosts, then repeat two or three colors. A clear focal point usually looks more intentional than many unrelated decorations.
How can I decorate my trunk for Halloween on a budget?
Reuse cardboard boxes, fabric you already own, and craft paper. A monster mouth needs only a frame, teeth, and eyes; a ghost house can be made from a single large piece of cardboard. Plan the layout first so you buy only the supplies you need.
Are Halloween stickers and magnets the same thing?
No. Adhesive stickers bond to a compatible surface, static clings use a different attachment method, and magnets require a suitable magnetic surface. Check the actual product type before buying. A household or refrigerator magnet should not be assumed suitable for use on a moving car.
Can I leave trunk-or-treat decorations on while driving?
Pack away the large props, fabric, display lights, and handmade frames described here before driving. Any decoration intended to remain on the vehicle needs suitable product guidance, placement that preserves visibility and vehicle functions, and compliance with applicable local requirements.
Will Halloween car decorations damage the paint?
That depends on the material, adhesive, surface condition, and removal method. There is no universal no-damage guarantee. Confirm compatibility before application and follow the product and vehicle finish care instructions. Separate display boards are a useful option when you want a parked scene without attaching craft materials to the paint.
How early should I order personalized Halloween decorations?
Check both production and shipping estimates for your destination before ordering, and allow time to review the personalization. Delivery needs to be planned around your event date, which may be earlier than Halloween.