

Easy Steps on How to Hang A Ribbon on A Christmas Tree
It is time to get your home ready for the holiday season. One of the most important tasks is putting your real Christmas tree up. If you’re like most people, you probably want to add a touch of personality to your tree by adding a ribbon. A ribbon allows you to change your tree’s look each year if you cannot swap other decorations. This blog post will show you how to put a ribbon on a Christmas tree!
Choose your ribbon type
- Types of Ribbon
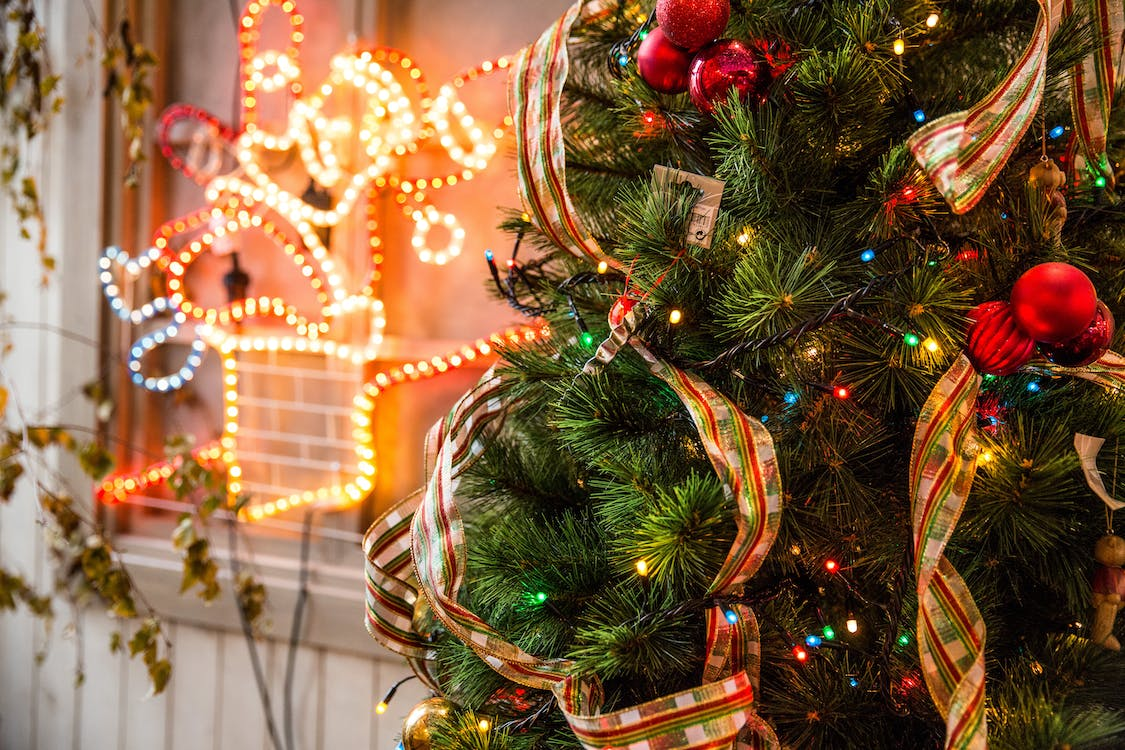
When choosing ribbon for your Christmas tree, opt for wired ribbons for better shape retention and ease of styling. Popular choices include classic red and green stripes, elegant gold, silver, and white, and cozy plaid for a country theme. - Color and Pattern Selection
Select colors and patterns that enhance your tree’s aesthetic. While traditional red and green are timeless, explore various combinations and patterned ribbons to add visual interest. Aim for a cohesive theme by complementing existing decorations. - Length Considerations
For a polished look, cut ribbon lengths that are twice the height of your tree, plus an extra foot. For a six-foot tree, this means cutting pieces approximately twelve feet long. This ensures you have enough material for loops and drapes without excess.
Preparing the Ribbon
- Cutting the Ribbon:
Measure your tree and cut the ribbon to lengths that are twice the height of the tree, plus an extra foot. For an eight-foot tree, cut pieces eighteen feet long for ample loops and draping. - Creating a Plan:
Before you start, visualize how the ribbon will flow and where you want loops or bows. Planning ahead ensures a cohesive look and smoother decorating.
Techniques for Hanging Ribbon
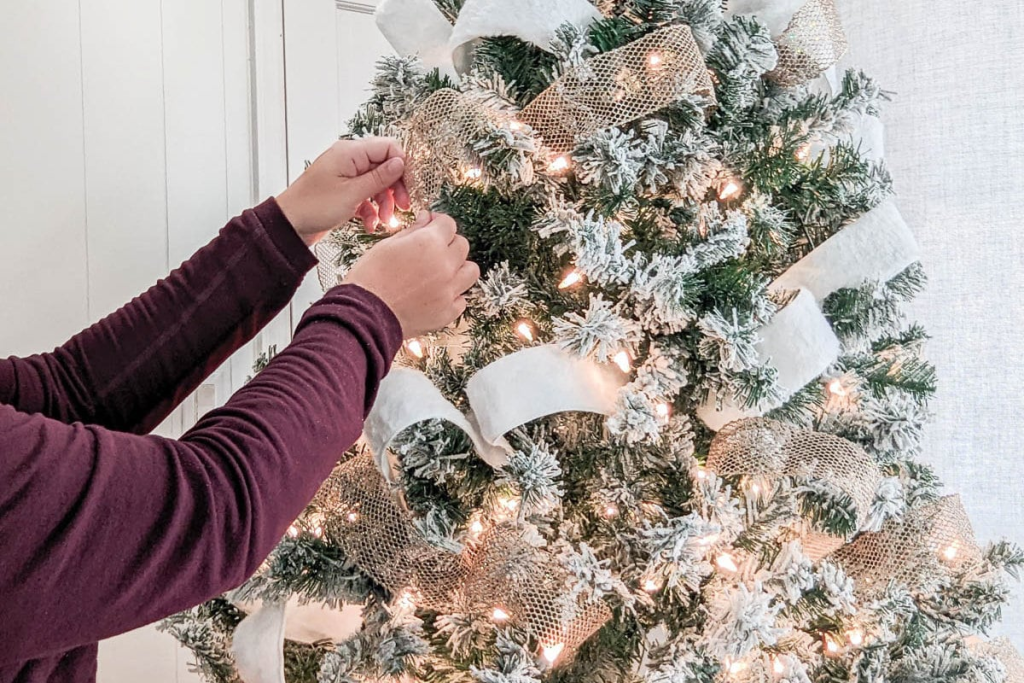
- Starting at the Top:
Begin attaching the ribbon at the top of the tree for better control. - Zigzag Technique:
Fold the ribbon in half and loop it around the branches in a zigzag pattern. This helps the ribbon maintain its shape and allows for easy adjustments. - Creating Loops and Bows:
When you reach the end of the ribbon, create a bow by folding it into loops and tying the ends together. Fluff the bow for fullness and position it prominently on the tree.
Final Touches
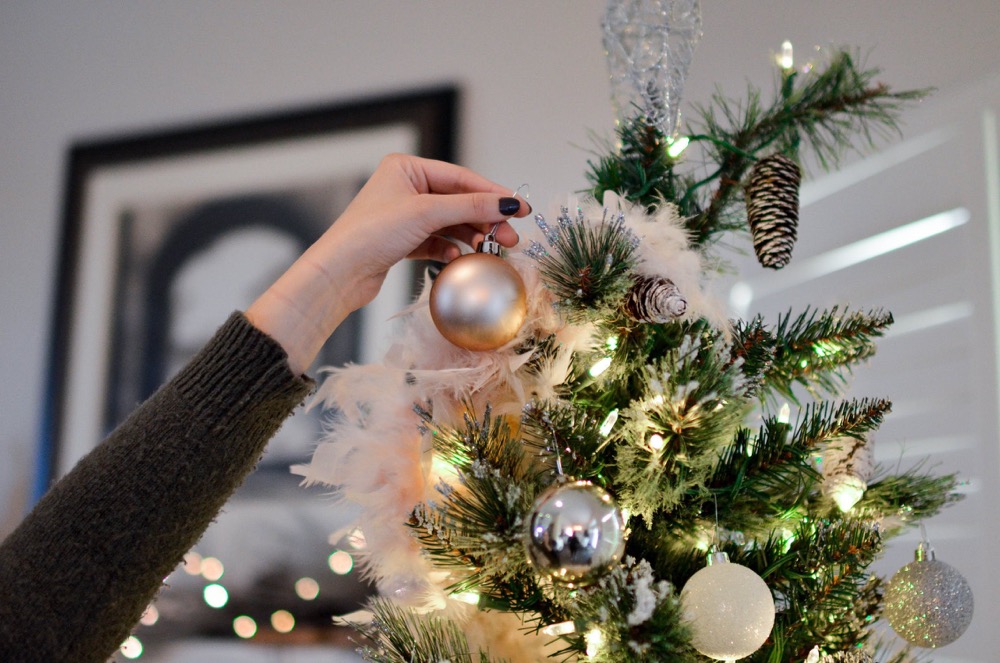
- Incorporating Additional Decorations:
Integrate your chosen ornaments, pinecones, and lights with the ribbon for a cohesive design. Position these elements thoughtfully to complement the overall theme. - Stepping Back:
Once you’ve finished decorating, step back and assess the tree from different angles. This allows you to appreciate your work and make any necessary adjustments for a beautifully balanced display.
Troubleshooting Common Issues
Ribbon Sliding:
If your ribbon keeps slipping, try securing it with small clear hooks or adhesive tape at key points along the branches. You can also use wired ribbon, which tends to stay in place better.
Uneven Drape:
For an even distribution of ribbon, adjust the spacing as you work. If some areas look sparse, pull more ribbon from those sections, or add additional loops to create balance.
Too Much or Too Little Ribbon:
If you find you have too much ribbon, trim excess lengths and redistribute the remaining ribbon for a more balanced look. Conversely, if there’s not enough, consider adding additional lengths or overlapping sections for a fuller appearance.
Personalize Your Design
Don’t hesitate to experiment with different layouts and styles! Your Christmas tree is a reflection of your unique taste, so feel free to play with colors, patterns, and additional decorations to create a look that truly represents your holiday spirit.
Decorating with Callie Products
For a seamless decorating experience, check out our curated collection of Callie products. From beautiful ribbons to festive ornaments, we have everything you need to bring your holiday vision to life. Explore our selection and make this holiday season unforgettable!